

In a world of overproduction and overconsumption, repair is a radical act. Repair saves you money, empowers you to restore the things you love, and helps release pressure on the planet. This guide will equip you with a practical and expressive embroidery technique to repair rips, holes or stains on your favourite blanket and other garments.
Here we’ll use scrap fabric and colourful embroidery thread to create a patch that not only fixes your stuff but creates a feature that is unique to you. Repairing your stuff can be easy, fun, and meditative – and in this case, really beautiful. Appropriate for all levels, from total beginners to experienced needleworkers!
Please note: This technique is designed for woven, not knitted, materials (so no to t-shirts, sweaters and yoga pants and yes to jeans, jackets and shirts). Also, as a decorative style, armpits and crotch repairs are not recommended because the aesthetic is bold and the threads will not be durable enough for these areas.
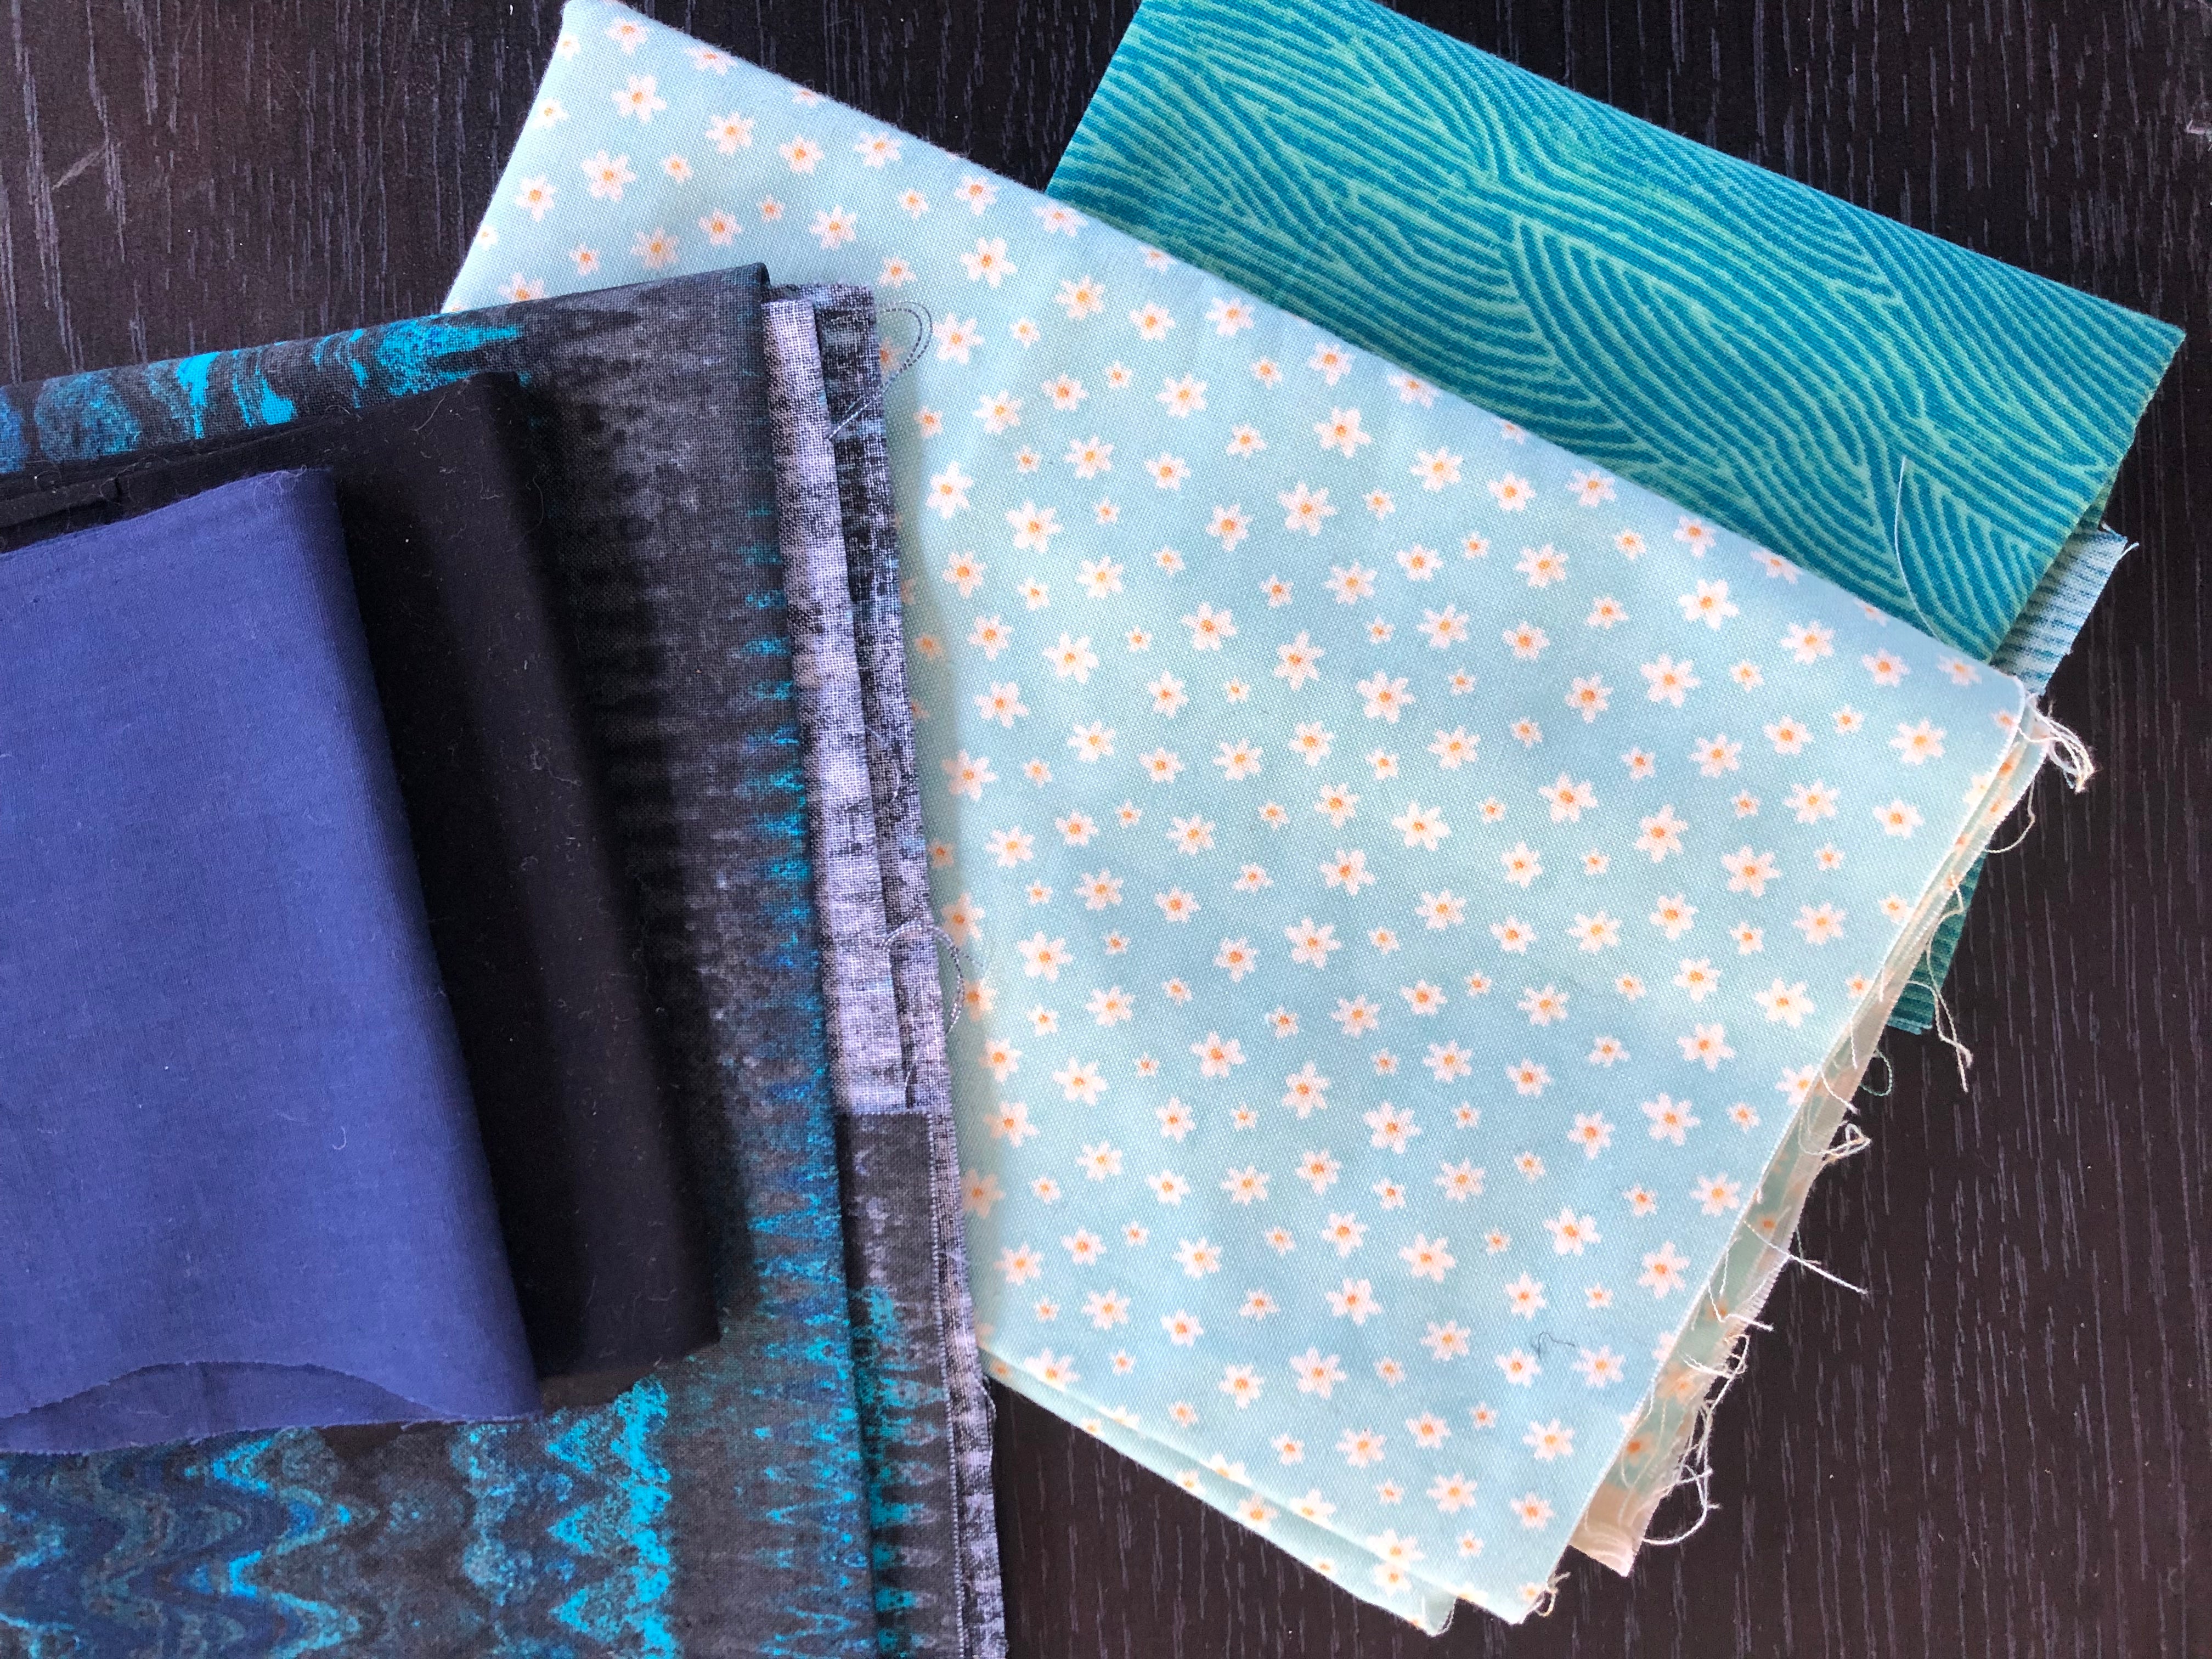
Step 1: Choose fabric for patch
Dip into your craft box, find an old garment no longer in use or hit the op shop to find some fabric to create a patch for your repair. Think about what colours and patterns would match the garment or blanket you’re going to fix – do you want it to stand out or blend in a little bit? You’re looking for a woven fabric so it’s not stretchy, nor slippery.

Step 2: Choose threads for stitching
DMC embroidery thread is our favourite for these repairs. It’s a four-ply luminous cotton thread that can be separated into a thinner thread if needed (by pulling apart the plys), but we love the bold and luxurious effect of using it in tact. Again, choose two colours you like that are in contrast to, or in harmony with, your garment and patch fabric.

Step 3: Gather your tools
For this visible repair technique, you’ll need:
- Fabric for patch
- Four-ply embroidery thread (we love DMC threads)
- Embroidery needle
- Pins
- Fabric scissors
- Smaller snippers – non-essential but useful for any hand sewing job

Step 4: Cut your fabric patch to size
To create a patch, cut your piece of fabric into a circle about 1cm over the edge of your rip, tear or stain so that it’s fully covered. If you have a very small hole, for instance, add a few more centimetres so you’ve got enough room to stitch back and forth around the edges. Use your pins to secure the patch to your fabric.

Step 5: Prepare your thread
Cut a length of thread around 40cm long, and thread it through the needle. Tie a knot at one end, and have about 10cm of the thread pulled through the needle for ease of use. If the eye of your needle is too small for a four-ply thread, you can separate the thread down to two-ply by slowly pulling the thread apart.

Step 6: Make your first stitch
At about half a centimetre away from the edge of your patch, pass your needle from the back to the front of your blanket or garment, so the knot sits on the back of your work. Find half a centimetre into your patch from its edge and pass the needle from the front to the back of your work (ensure the stitch crosses the tear or rip if that’s the case so the problem area will be covered as you make more stitches). Voila, this is your first stitch!

Step 7: Create a row of stitches
Stitch back and forth perpendicular to the edge of the patch, working your way slowly around the circle. Use various stitch lengths by a few millimetres to create a more textured and organic look. Be aware of your tension, which is how firmly you hold both your needle and thread and your fabric to avoid puckering. Also be aware of what’s happening on the back of the fabric, checking that the stitches are neat. Although your work doesn’t need to be perfect (and we think it looks better imperfect!), it’s worth pulling out a stitch or two and rethreading your needle if it gets a bit crazy.

Step 8: Tie off your first row of stitches
Once you’ve used up your thread by stitching back and forth, you’ll need to tie a knot on the back of your work. Give yourself 5-10cm to do this (once you get the hang of it, you’ll need less). Do the same simple knot that you tied at the end of your thread, keeping a loose loop and shimmying and tightening it down at the base of the fabric. Chop the end off at about 5mm.

Step 9: Introduce your second colour
Add a second row of thread to bring more colour and dimension to your visible mending job. To add a second colour, thread your needle with new yarn and tie a knot, like you did with your first colour. Make your first stitch by nestling your needle in between two stitches of the first colour, about halfway down the stitch length. Make the second colour stitches around the same length, extending out into your fabric and away from the patch. Vary these stitch lengths too.

Step 10: Finish off your second row of stitching
Stitch back and forth, nestling each stitch into each gap between the stitches of the first colour, all around the edge of the patch. Pass the needle to the back side of your work and tie a knot – and you’ve finished your visible repair!
If you enjoyed this process, you can experiment by adding a patch to the back as well as the front of a garment, create different shapes with your patches or overlap different techniques. If you want to try other styles, check out how to repair your blanket using a traditional patch with a blanket-stitch, and an invisible repair technique here.