 The Passage blanket from the Design range
You may have seen blankets suspended on walls and wondered how such a perfect wallhanging is achieved. Well, we're letting you in on our little DIY secrets with an easy step-by-step guide on how to turn a blanket into a wallhanging, using Seljak brand as an example. Seljak Brand blankets in the Design range sport unique artworks, making them simple interior additions with great impact – both as throws and wallhangings!
 The Pyramid blanket from the Design range
This guide shows you how to create a permanent hanging system to display a woven blanket on the wall, using either carpet square or magnets as a hanging system.
Hanging a blanket with carpet square
Step 1: Collect your materials
Materials you will need- Length of carpet square
- Hammer and nails
- Ruler or spirit level
- Your blanket

You will need to acquire a length of carpet square, as this will hold your blanket in place on the wall, without straining any individual part of the blanket. Most hardware stores have lengths of carpet square and some even offer the service of cutting it to your desired length. Be sure to double check the dimensions of the blanket that you are hanging (sizing information is available on each of our product pages). Carpet squares have nails ready to go for fixing to surfaces, so you will need a hammer to secure the carpet square to your chosen spot on the wall and a ruler or spirit level to ensure it’s not wonky.

Step 2: Measure, line-up and secure
Pick your spot on the wall and use your ruler or measuring tape to check that everything is straight and nail your carpet square into the wall. Don’t forget to pay attention while handling tools and sharp objects!
 Hammering the carpet square to the wall
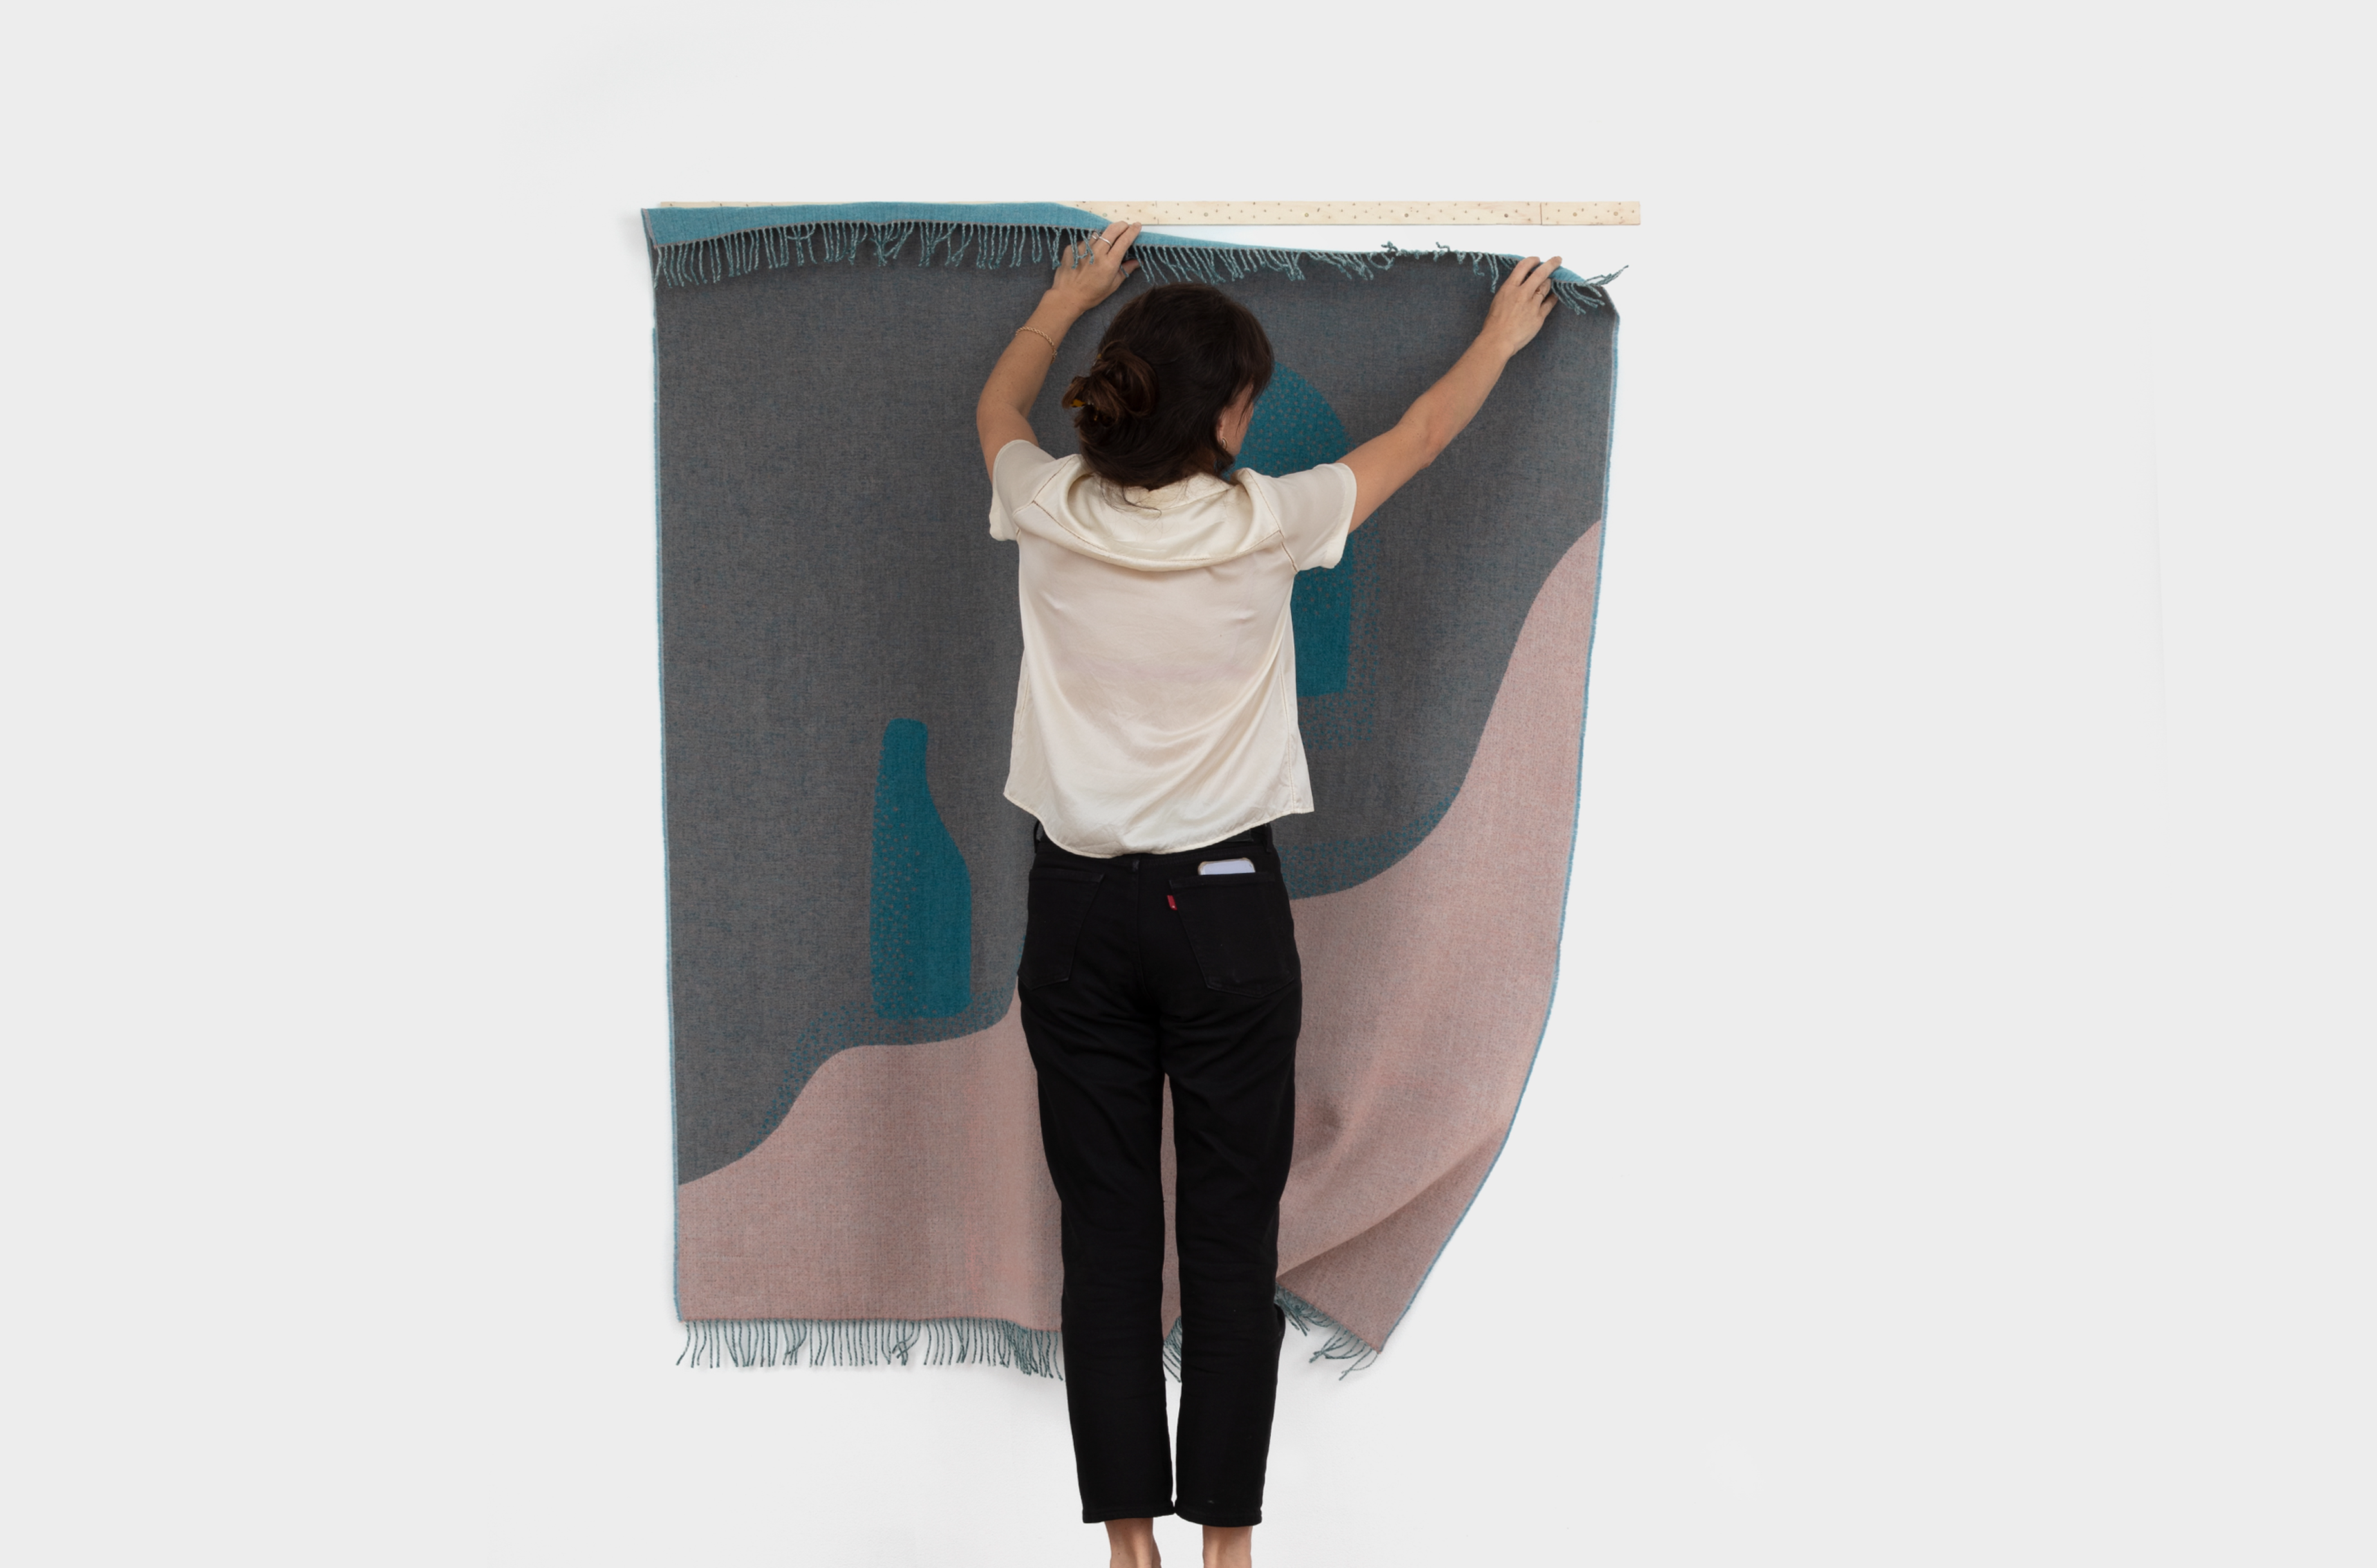
 Hanging the Passage blanket using a carpet square
 Hanging the Moontide blanket from the Rugged range using a carpet square
Step 3: Hang your blanket
Once the carpet square is secured to the wall, carefully push the nails into the blanket to avoid snagging or pulling any of the fibres. Because the blanket is so evenly secured along the top, it is not necessary to add a carpet square to the bottom, so you can let the bottom of the blanket hang loose for a sense of ease.
Voilà, enjoy your new wall feature!
 Securing the Moontide blanket to the carpet square
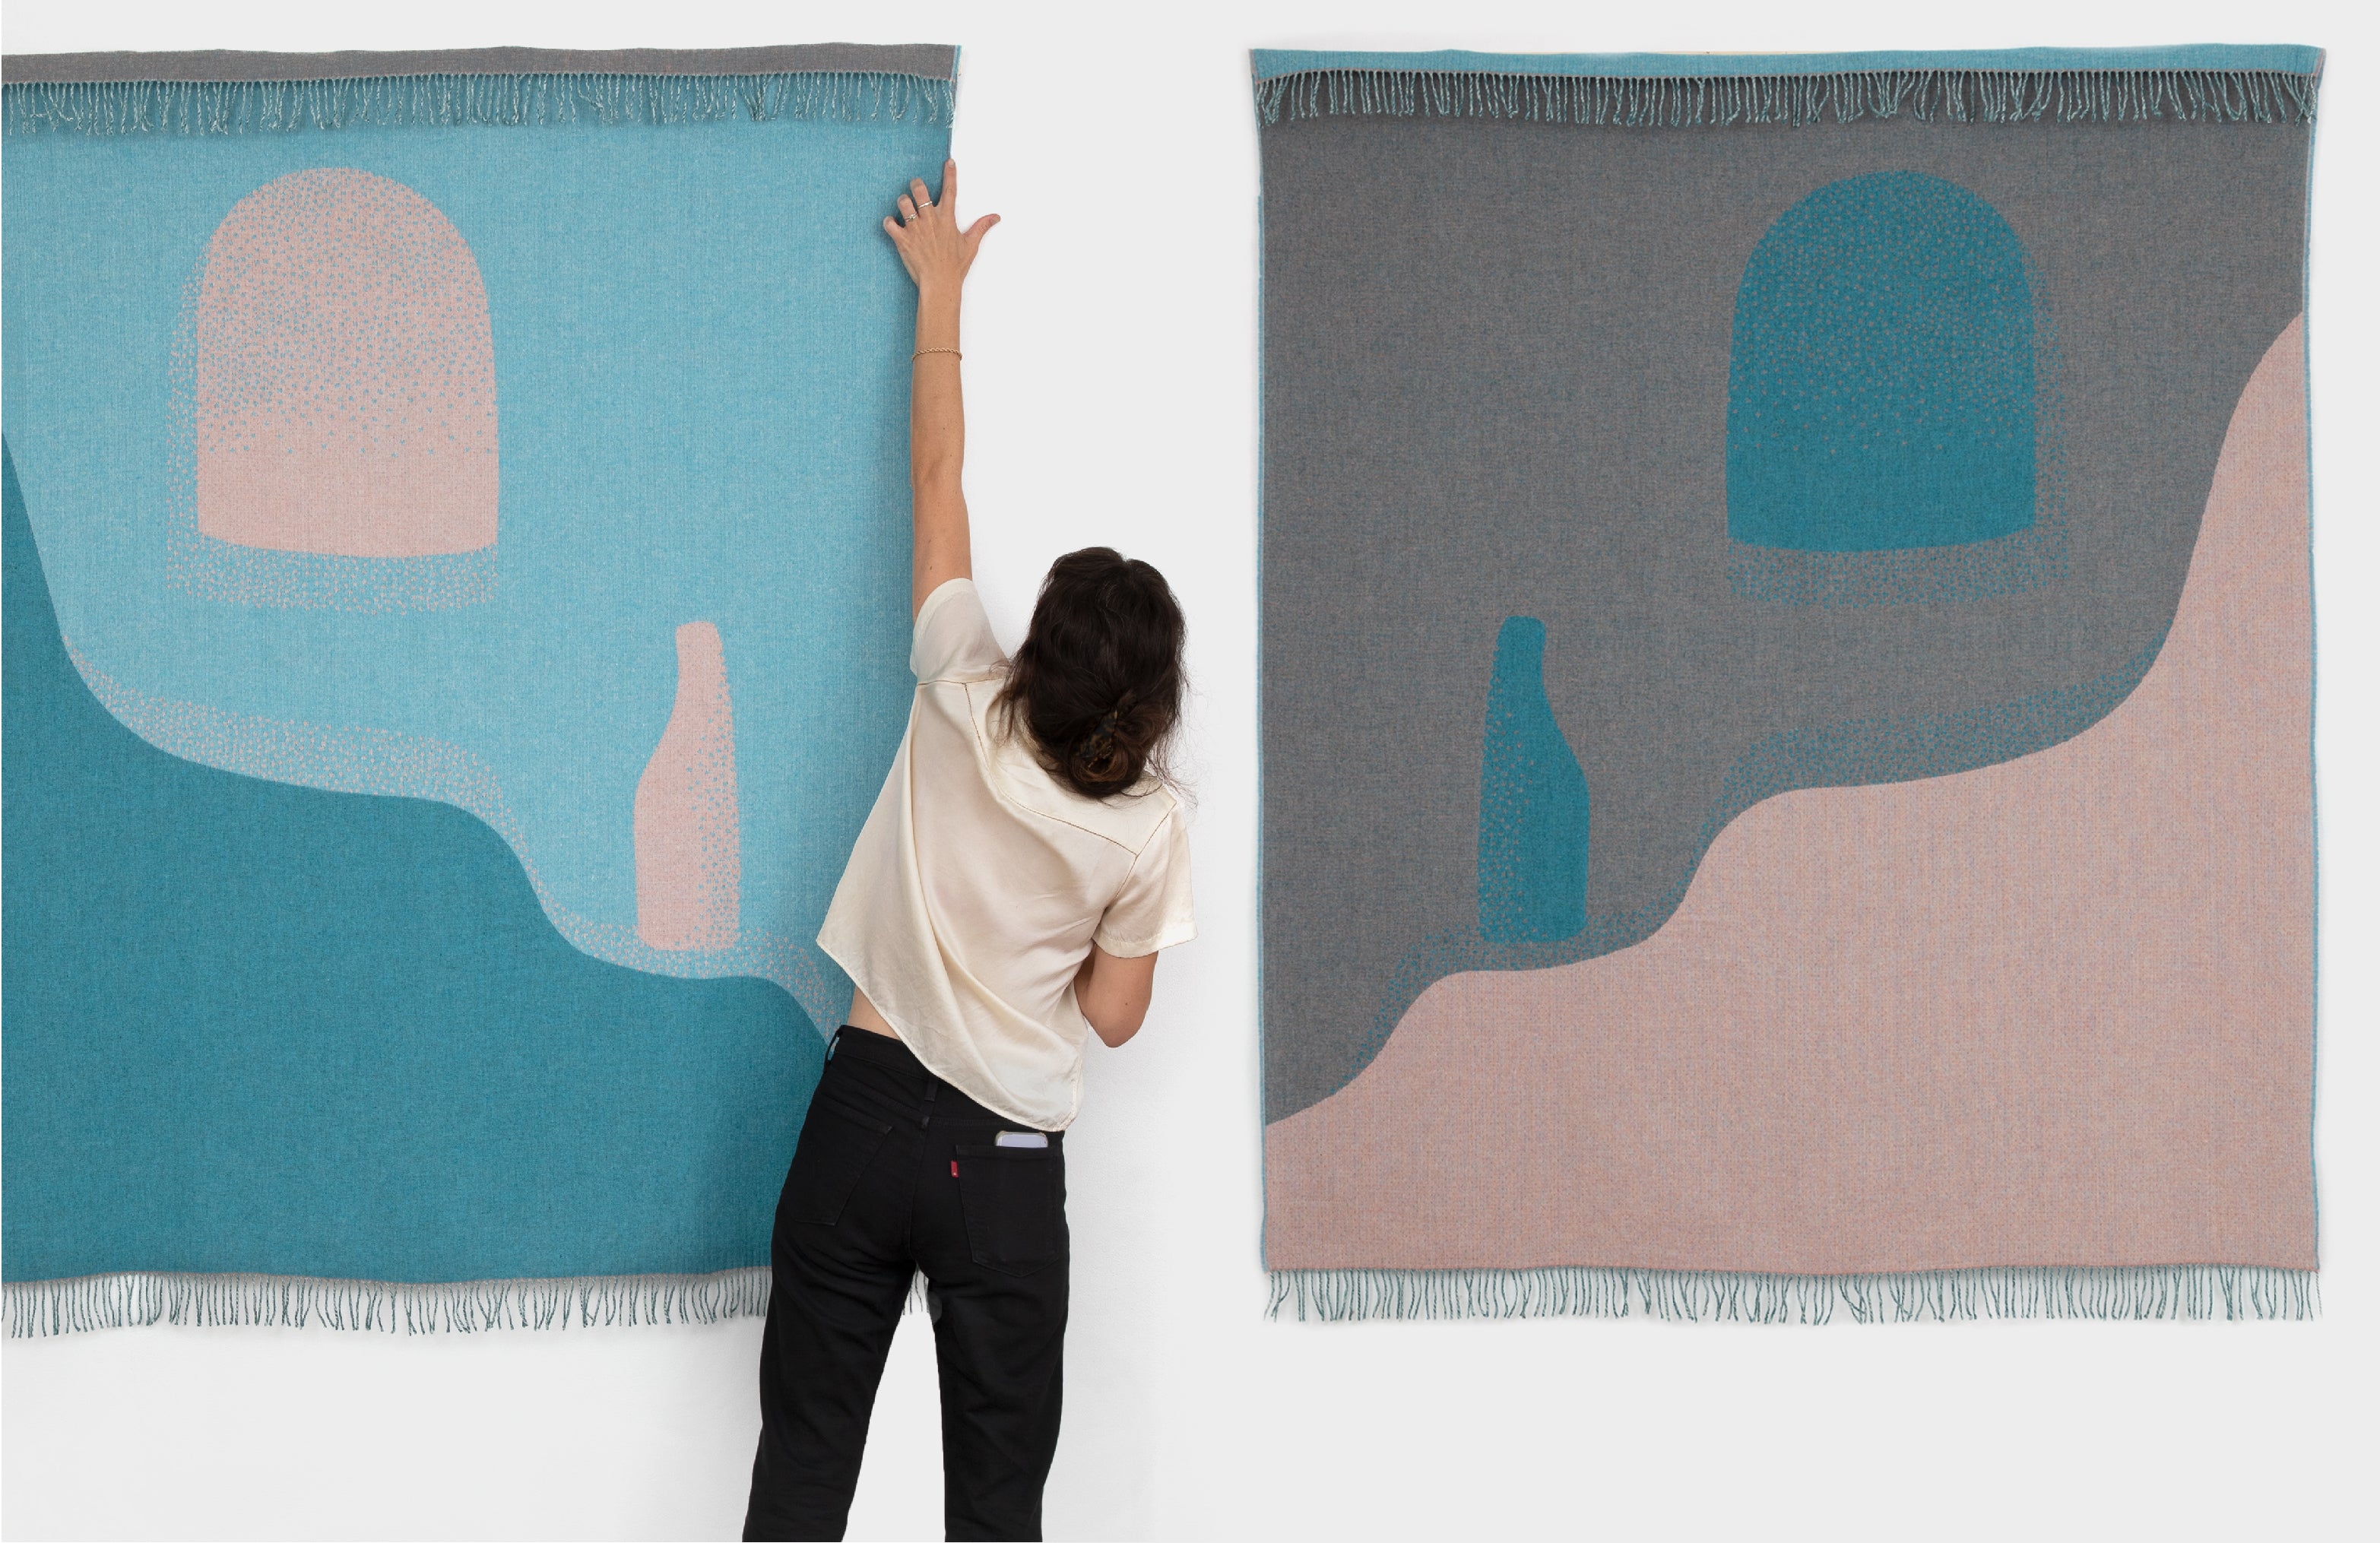
 Both sides of the Passage blanket displayed on the wall using carpet square
Hanging a blanket with magnets
Hanging your blanket with magnets is a great option to create a consistent and flat hang without needing to put holes in the wall. It’s important to note this approach is not suitable for people with small children or pets.

A blanket on the wall is a lovely way to bring a sense of warmth to a workspace
Step 1: Prepare your materials
Materials you will need
- Magnets, at least 10
- Double sided foam-core tape
- Your blanket
Magnets can be bought at hardware stores or art stores and are about 1cm in diameter. Double sided foam-core tape can be bought in the same stores as well as stationary stores. Cut your foam-core tape into ten pieces about 1.5cm long.

Step 2: Place tape and anchor magnets
Place foam-core tape at the top right corner, middle and top left corner of the blanket. Also place half-way down each side of the blanket. On top of each piece of foam core, place a magnet, which is the anchor for the blanket to be sandwiched in between.
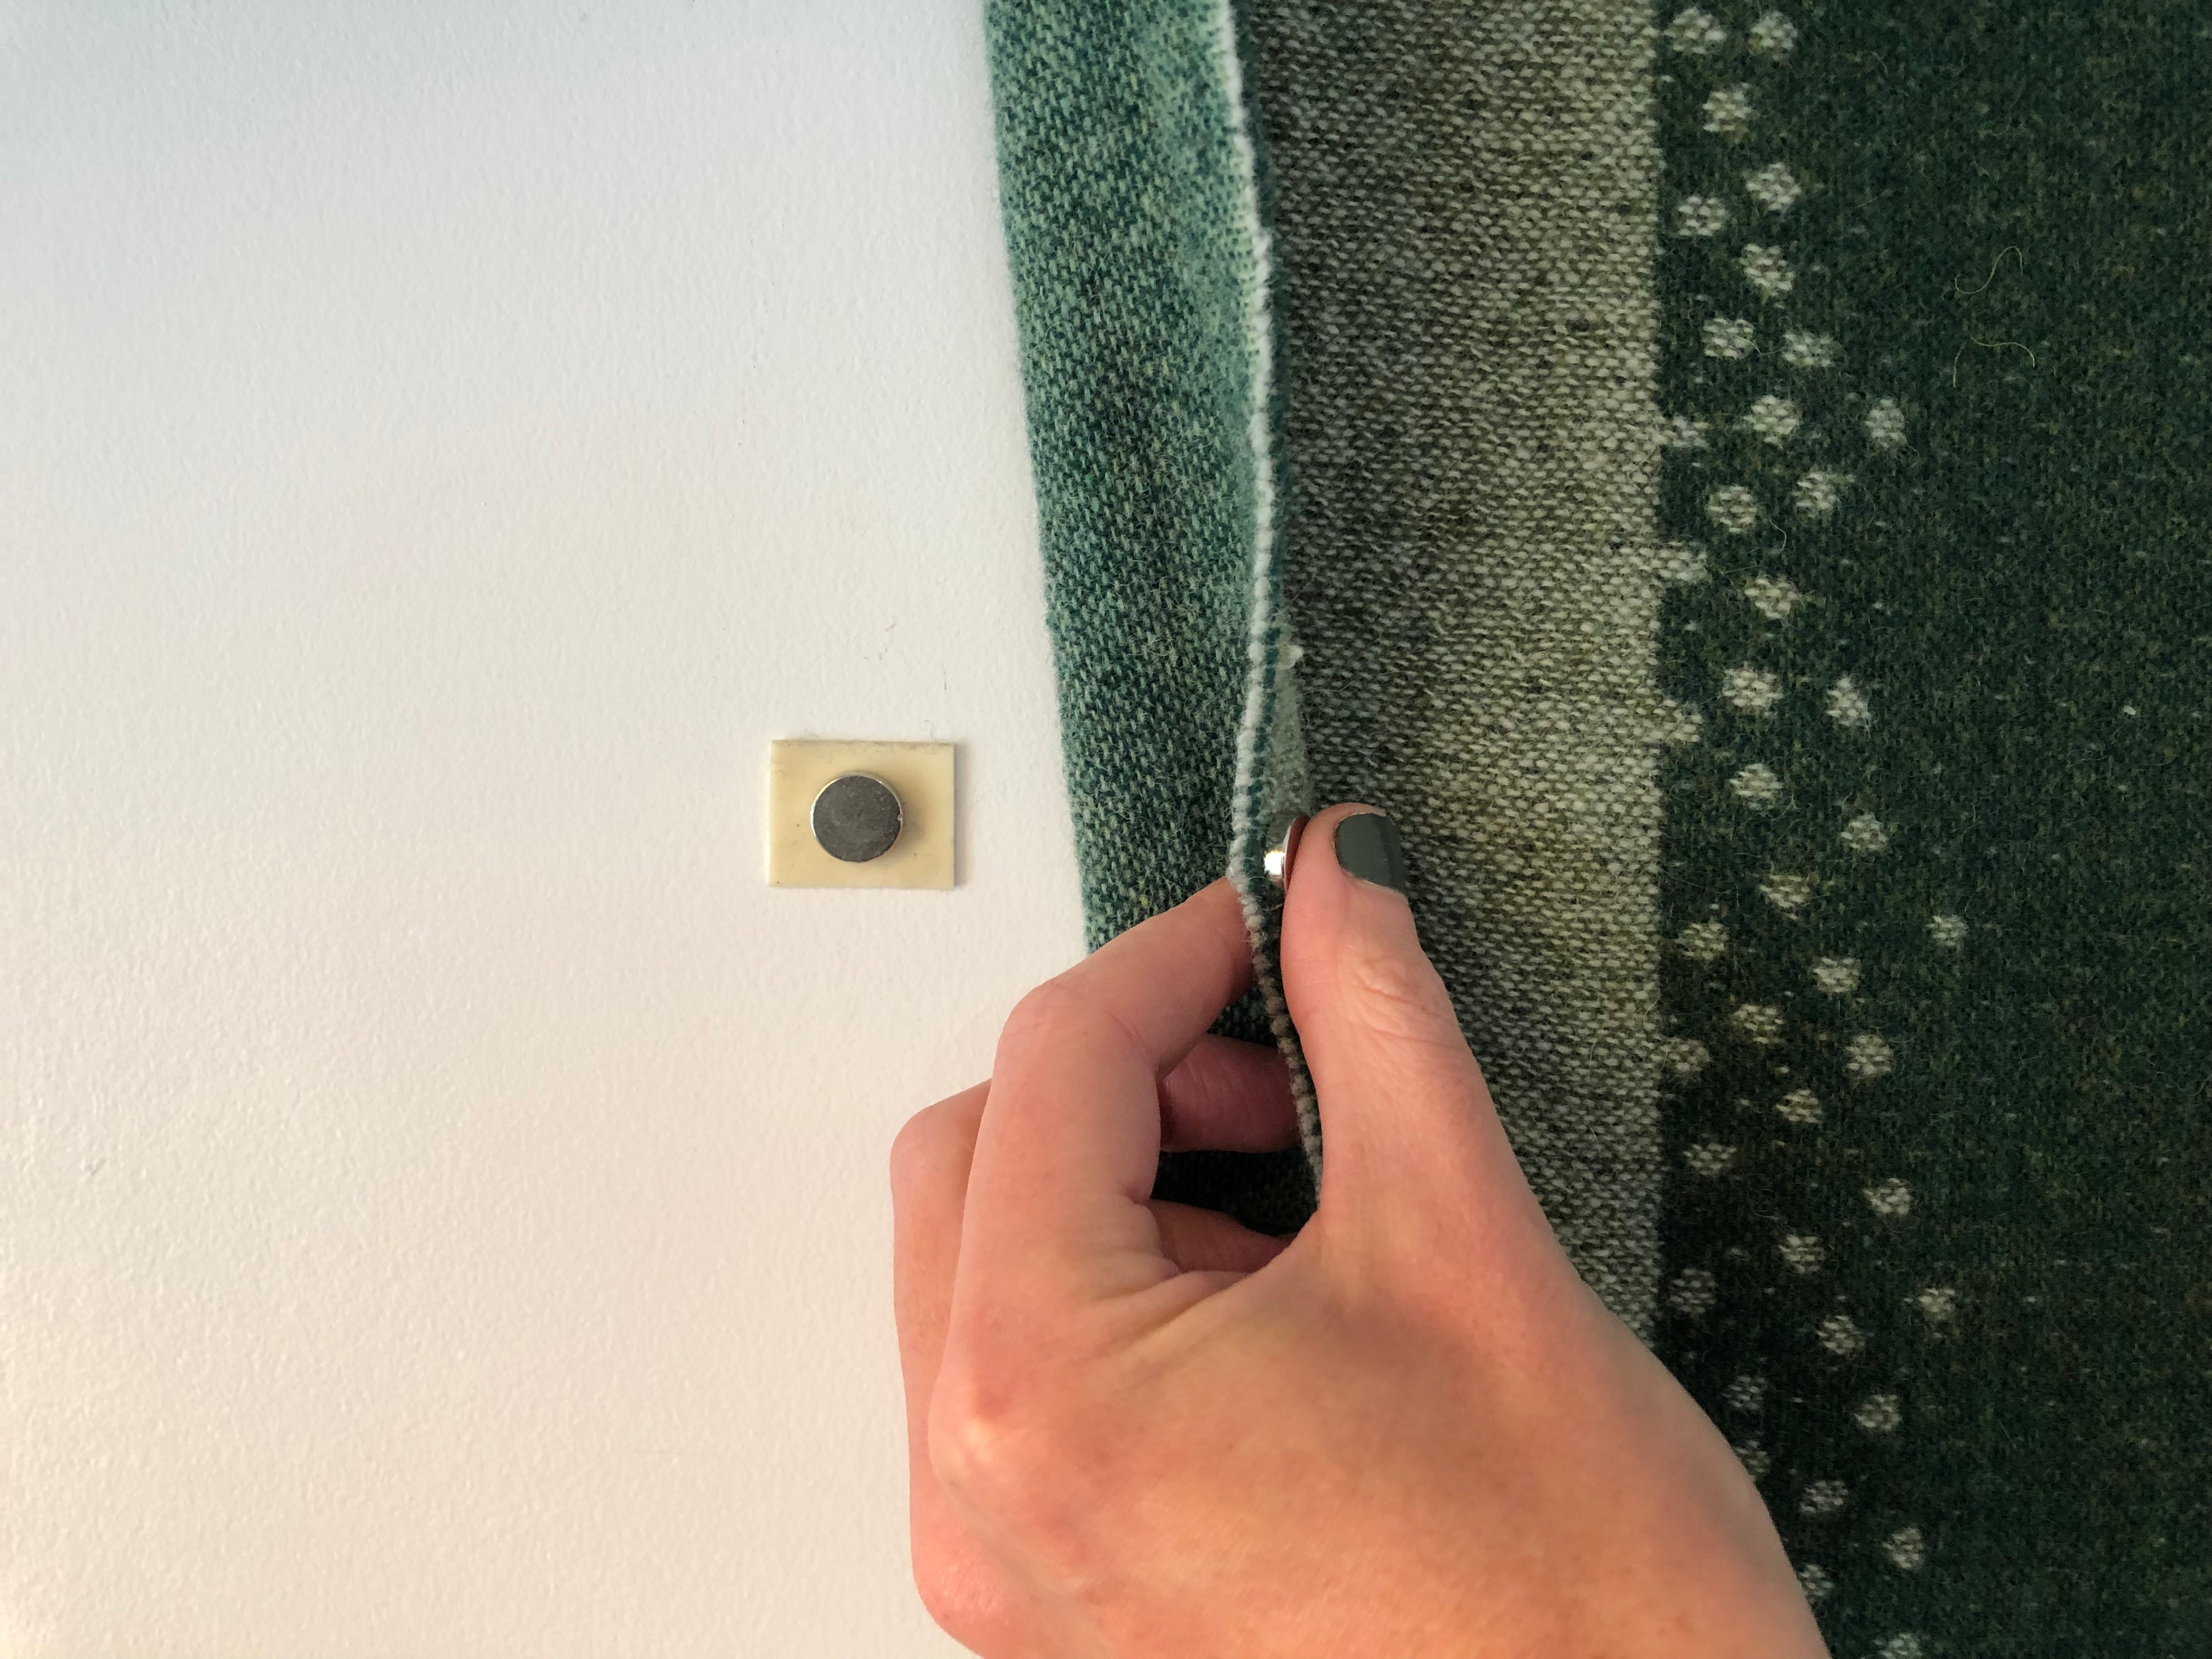
 Magnets sit on top of foam-core tape as an anchor
Step 3: Place top magnets
Place the blanket edges over each magnet and snap a magnet on top of the blanket to secure it down.
If you have more than 10 magnets, place evenly between those across the top, and you can even place one each in the bottom corners. This creates a flatter and more consistent hang. Of course, when removing the double sided tape from the wall, be careful as to not peel the paint off the wall below the magnet.
Enjoy your blanket artwork on display!

Magnets are a lightweight and stylish option for hanging textiles on the wall
The Lune and Dune blanket designs make beautiful wall hangings


