
Dyeing blankets and other clothing is a great way to breathe new life into items you love. Whether covering up stains or bringing an item into relevance through colour, dyeing is one way to extend the life of your stuff. In the past we’ve turned a pair of white shorts yellow and worn them an extra 5 years, and counting! So we thought we’d share our techniques for over-dyeing and Shibori dyeing, which can be applied to blankets, jeans, dresses or pillowcases to boot.
TECHNIQUES
We’re outlining two dyeing techniques in this guide by applying them to two light grey woollen blankets.
- Over-dye a blanket, which is applying a solid or all-over colour to an item
- Shibori dye a blanket, which is using a traditional Japanese resist dyeing technique that uses clamps, ties and other methods to restrict the amount of dye accessing different parts of the item, creating patterns and effects. Tie-dyeing is like Shibori!
DYES
It’s important to choose the correct dye based on the fibre type you’re using:
- Wool dye (protein fibres) – Kraftcolour Landscape Dyes for Wool
- Cotton dye (cellulosics) – Dylon (or Rit) Permanent Fabric Dye

EQUIPMENT
Ops shop utensils and recycled vessels make for a great dye kit!
- Blanket (or garment) to dye
- Dye of choice (we used Kraftcolour wool dye in Sage)
- Rubber gloves
- Spoon
- Stirrer
- Small container
- Dye tub or stainless steel sink
- Washing detergent
- Salt
- Drying rack
- Dropcloth if indoors
- Cleaning rags
- Wooden or plastic blocks or boards, similar to pictured
- Rope
Overdye technique process
1. Weigh the blanket to work out how much dye you need
Instructions for ratios will be on the dye packaging. In this case, 25g of dye will dye 250g of fleece, so 100g will dye a 1kg blanket. Approximating works if you don’t have a scale!
 Dissolving dye in a small plastic container
2. Dissolve the dye in hot water in a small container
Stir to dissolve. Remember items like spoons, stirrers and containers once added to your dye kit, stay in your dye kit and shouldn’t be used for cooking, or other uses, afterwards.
3. Add the dye solution to the warm dye bath
Fill a tub or stainless steel sink with about 25 litres of water (around 40 degrees Celsius) and stir in dye solution. The amount of water can be variable but needs to cover your item with room to move.
 Before you submerge your item you can use a piece of paper towel to test your colour, adding more water to dilute, or dye to strengthen, the colour
4. Submerge the blanket and stir gently
Visit your blanket regularly over about 40 minutes to stir it around so the dye can access all parts of the items and create an even effect.
 Rinsing in cold water until the water runs clear
5. Rinse in cold water
This is where you get a sense of how much labour and resources are used to create textiles. It will take 5 minutes of running water to rinse all the dye out of your garment and a lot of hand kneading!
6. Hang with weight evenly distributed
Big swaths of fabric can stretch if hung, so try to distribute the weight of the blanket over drying racks. Use drop cloths underneath if you’re working inside.
Shibori technique process
Follow the same process as above but after Step 1: Weighing your blanket, and before Step 2: Dissolve dye in hot water, tie your blanket in a Shibori style before submerging into your dye bath. For this blanket, we used a folding and board clamping technique:
 Laying out the blanket and beginning the concertina-style fold
A. Lay your blanket out flat
B. Fold in concertina style
Running down the length of the blanket, folding a mountain, then valley, and repeat, until all of the blanket is folded
 Concertina folding width after length
C. Fold in concertina style along the width of the blanket, until you have a folded stack
 Gathering the final folds to create the stack
D. Secure the stack between two wooden (or plastic) blocks and tie tightly with rope
 Showing one of two ties required to clamp the blanket
E. After 40 minutes in the dye bath, pull the whole apparatus out of the bath before untying, rinsing, and drying.
 The blanket is exposed after absorbing the dye for 40 minutes
Dyeing fabric is an art, craft and science. Keep in mind dyeing is a fairly experimental way to bring new life to old textiles, and results may vary. If you’ve loved this process, you can play with other variables like natural dyes or adding vinegar, salt and other substances to explore colour, pattern, pigment and chemistry.
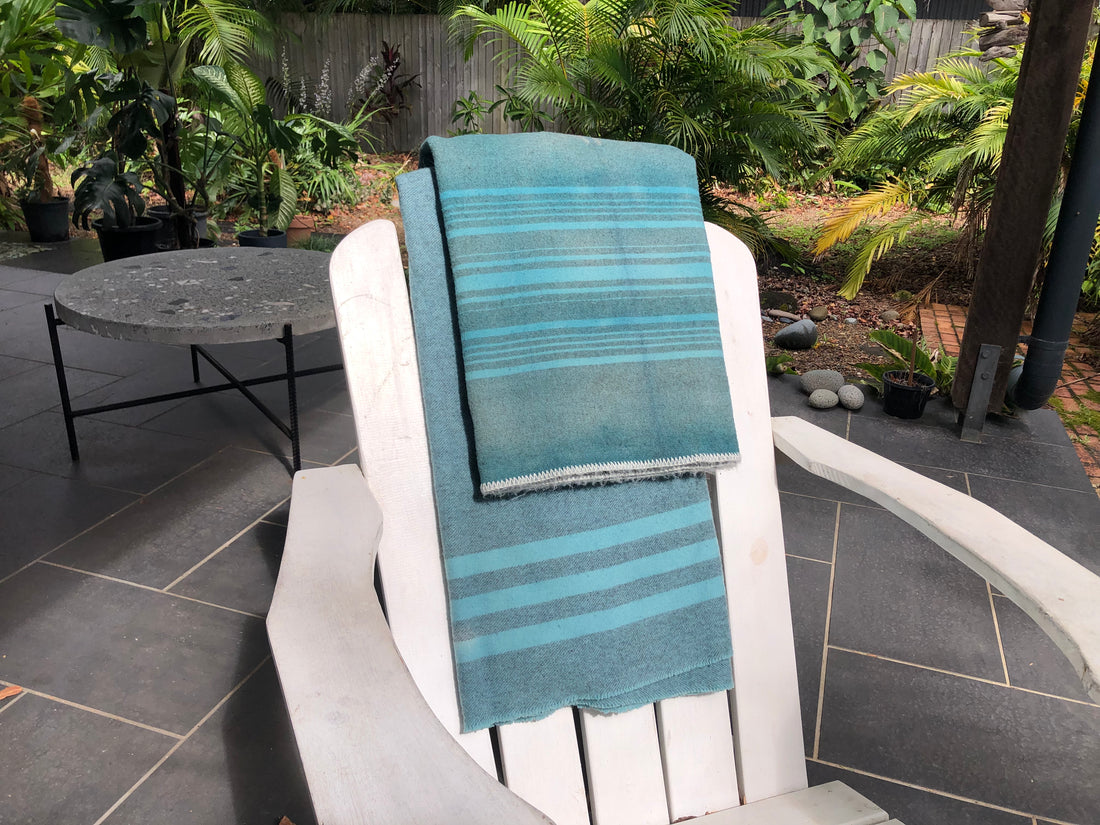
 Drying the blanket on a rack outside – we love the subtlety of the Shibori on this piece!